

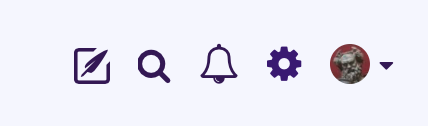
Creating a new diary entry is easy! To start, just click the Write icon in the upper right of your browser.
Once you click the Write icon, you will be taken to the New Diary Entry screen.

At the top of this screen, you will see several important features:
- The Title space, where you can enter a title for your entry. This title will appear as the link to your entry on any entry lists. Please note that titles are required, and the system will not let you save your entry without a title. To start typing your title, simply click on the space that says "Title" at the top of the entry.
- The Add Media button, which will let you add images in the body of your entry. If you want to include pictures in main part of your entry, you will use the Add Media button. For more information, see Posting pictures in your diary.
- The Set Featured Image button, which lets you add an image that will be used as the main image for the entry. This image will show up on any entry cards in entry feeds on the site (like the front page feed, or a diary circle feed). For more information, see Adding a key image to your entry.
- The editing toolbar, which lets you do things like make text bold, add links, add emojis, and format the text in your entries. For more information, see Using the editing toolbar.
- The main text area, where you can type the text of your entry. To start typing your entry, just click in the blank area of the screen and start typing. There is no limit to how much text you can type in your entry.
At the bottom of the screen are some other key features:
 The tag area, where you can add tags to your entry. For more information, see Adding tags to your entry.
The Options dropdown, where you can change the following about your entry:
- the privacy settings of your entry
- which chapter the entry appears in (if any)
- whether comments are open or closed
- what Diary Circle the entry appears in (if any)
- when the expiration is for the entry (if any)
The Publish button is what you click when you are ready to save your entry. If you wish to save the entry as a Draft (that no one else can see), click the checkbox to Save as Draft before you click the Save button.
Once you save an entry, you can always go back to it and edit it or change it. For more information, see Editing an existing diary entry.
Comments
0 comments
Article is closed for comments.